
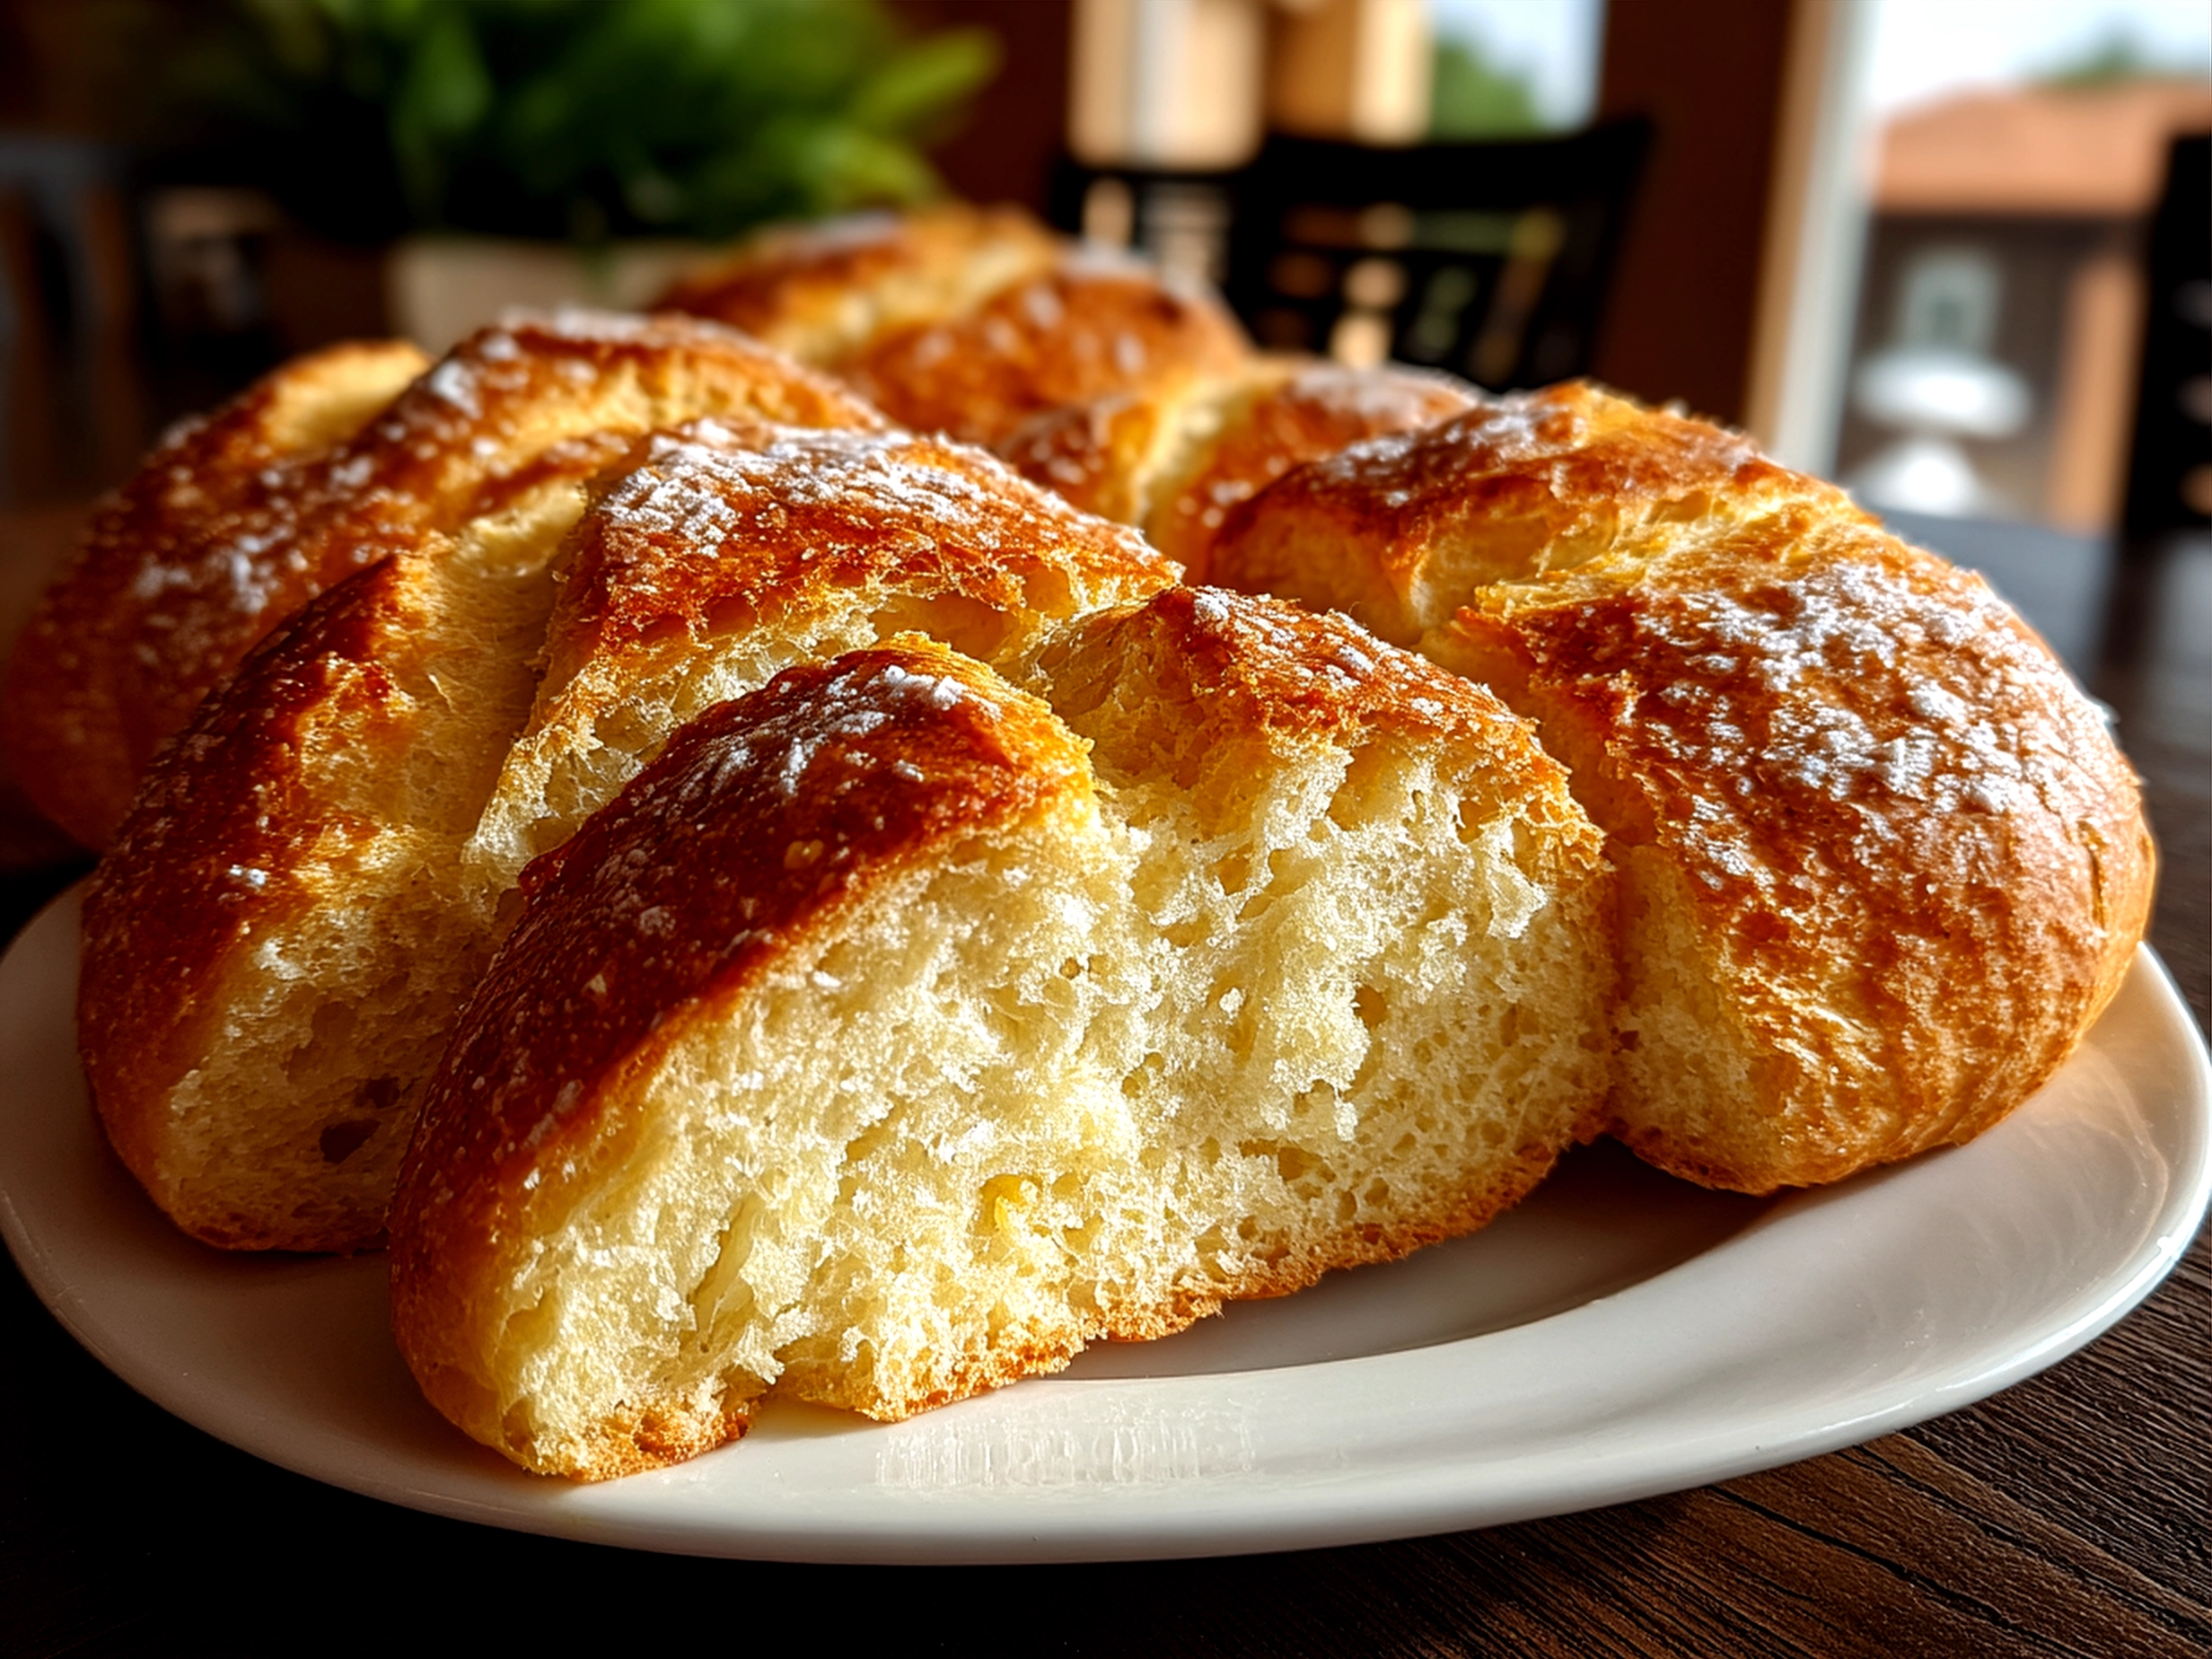
The first time homemade Italian bread truly captured my attention was during a quiet Sunday morning in a little kitchen tucked away in Naples. My grandmother, with flour dusted gently on her hands and a soft smile, handed me a warm loaf just pulled from the oven. The crust cracked softly as I broke a piece off, releasing a fragrant mix of toasted wheat and yeasty warmth. That smell — a touch of caramelized sugar from the crust and a hint of olive oil — filled the room with a comfort that felt like home itself.
This homemade Italian bread was more than sustenance; it was a ritual woven through generations. The afternoon sun filtered through lace curtains, casting delicate shadows on the flour-dusted wooden table where the dough had first been kneaded. Each fold and turn of the dough echoed stories of family gatherings and quiet moments alike. It reminded me how this bread was a staple in Italian life — untied to fancy labels but rich with tradition and love.
What struck me most was how this homemade Italian bread revealed a balance between simplicity and skill. It wasn’t about complicated ingredients but about patience and observation. The dough’s transformation, from sticky mixture to smooth elastic ball, was a testament to artisan bread baking passed down over time.
If you’re ready, let’s pull up a chair around this shared table and talk through the story behind this homemade Italian bread — the ingredients, the patient process, the small yet meaningful moments it brings forth. This is a bread as much about memory as it is about flavor.
The Components
When setting off to make homemade Italian bread, the beauty lies in the ingredients themselves. Quality turns simple components into something truly memorable, so here’s what you’ll need:
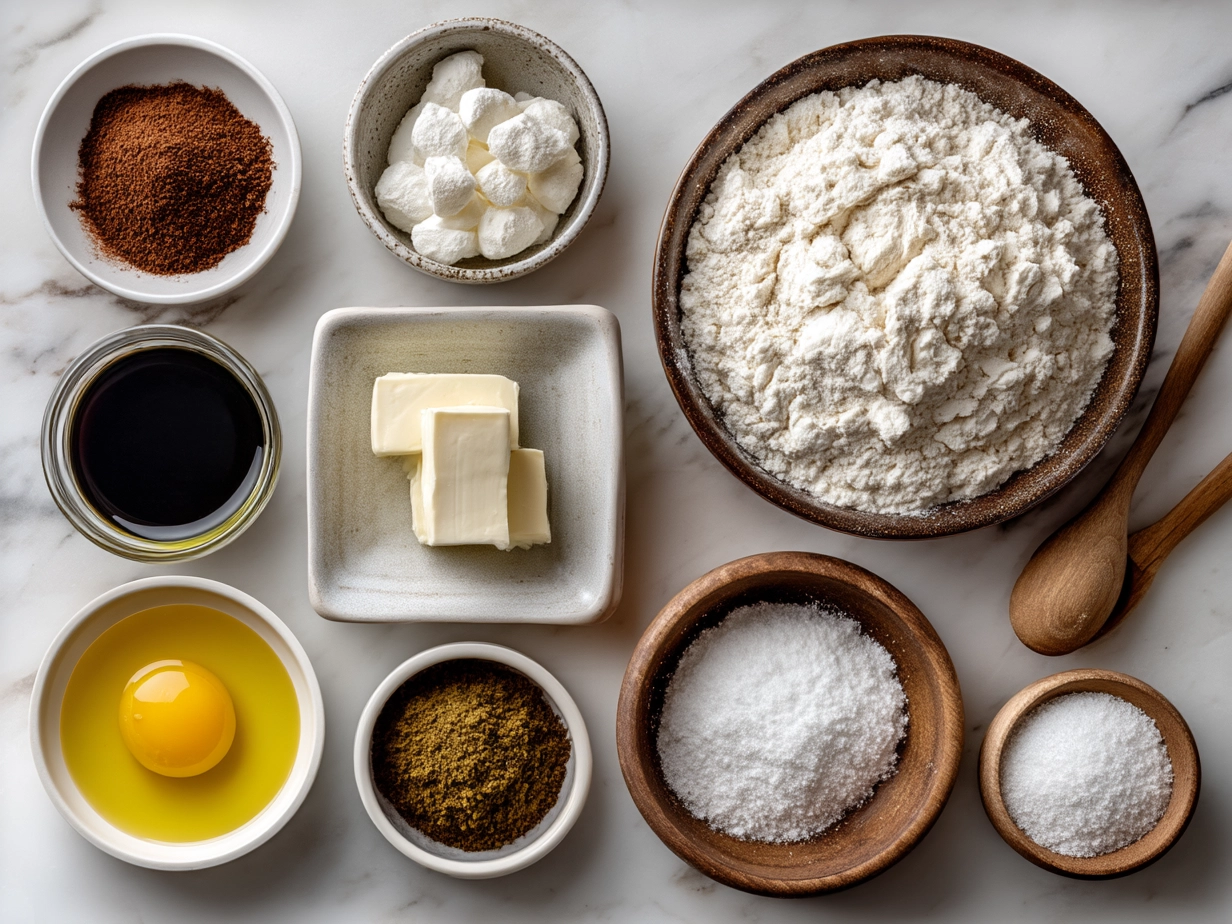
- 4 cups (480g) bread flour: Look for high-protein bread flour at specialty stores or farmers markets. This flour builds the gluten structure vital for that Italian style crust.
- 1 ½ cups (360ml) warm water: Not too hot; around 90°F encourages yeast activity without killing it.
- 2 teaspoons (8g) salt: Fine sea salt is best to evenly season the dough.
- 1 teaspoon (3g) active dry yeast: Find fresh packets for reliable rise and flavor.
- 1 tablespoon (15ml) olive oil: A fruity extra virgin olive oil adds subtle richness to the dough.
I prefer bread flour because the texture it yields is sturdy but tender, critical for this kind of artisan bread baking. You’ll notice many Italian bread recipes incorporate olive oil as a nod to traditional Mediterranean flavors. If your local store lacks bread flour, a mix of all-purpose and whole wheat flour works, though it shifts the crumb density a bit.
Freshness matters here; fresh yeast packets lead to a livelier dough. Try to measure salt carefully—not too much or it slows yeast activity. The water should feel warm to the touch but never burning, the first kitchen moment of many that signals your homemade bread dough has life.
For a twist, some bakers substitute lard for olive oil, offering richer notes reminiscent of rustic Tuscan breads. This homemade Italian bread adapts well to your pantry but always returns to these core, simple ingredients.
All these components come together with intention. The spent, warm flour smell as you mix foreshadows the delicious result, a hint of what’s to come in each loaf. If you want to see a slightly different take on rustic bread, you might like the Rustic Italian Crusty Bread Recipe Video from Ciao Florentina, which explores some related artisan techniques to deepen your kitchen moments.
The Process
Making homemade Italian bread is as much about patience as it is technique. Here’s how it unfolds step by careful step:
- Activate your yeast: Combine the warm water and yeast in a mixing bowl. Stir gently and wait 5-10 minutes. The surface should become frothy like a foamy sea. This signals your homemade bread dough is ready to develop flavor and rise.
- Mix ingredients: Add the bread flour, salt, and olive oil to the yeast mixture. Using a wooden spoon or your hands, fold these ingredients together until a shaggy dough forms. This initial mix can feel rough and sticky—that’s the natural start of gluten building.
- Knead the dough: Turn your dough onto a lightly floured surface and knead for about 10 minutes until smooth and elastic. This kneading step is critical to achieve the Italian style crust by aligning gluten strands. I repeat this step carefully each time to feel the dough strengthen beneath my fingers.
- First rise: Place the dough in a bowl coated with olive oil, cover it with a damp cloth or plastic wrap, and set it in a warm spot. Let it rise for about 1 to 1.5 hours until doubled in size. This slow proof allows the yeast to ferment fully, enriching taste and texture.
- Shape the loaf: Gently deflate the dough and shape it into an oval or round loaf, depending on your preference. Place it on a parchment-lined baking tray or a preheated baking stone for that artisan bread baking feel at home.
- Second rise: Cover the shaped dough and allow it to rest for 30-45 minutes. It will puff slightly—keep an eye, but do not rush this step. Proper timing affects crumb and crust.
- Preheat your oven: Set your oven to 450°F (232°C). A hot oven helps create that sought-after Italian style crust.
- Score and bake: Using a sharp knife or razor, score a few slashes across the loaf’s surface. This creates controlled expansion in the oven. Bake for 25-30 minutes, watching as the crust turns golden and crackles.
When the aroma of baking bread wafts through the kitchen, it signals the arrival of something special. Your homemade Italian bread will develop a rich, earthy scent, a mix of toasted wheat and a hint of olive oil caramelization. Listening for the hollow sound as you tap the crust lets you know it’s perfectly done.
For those thinking about no-knead variations, you might find The Easiest No Knead Bread Recipe an intriguing alternative method. It echoes some of the fermentation and rising ideas while minimizing hands-on time.
The Process truly requires patience but rewards you with a loaf that tells its story in crumb and crust. Each step connects you with this heritage of artisan bread baking — a moment of mindfulness amid everyday bustle.
Bringing It to the Table
Once your homemade Italian bread has cooled just enough, it’s time to breathe life into your meal with its presence. This bread carries versatility in its golden crust and tender interior.
Consider serving it alongside a bowl of slow-cooked Italian beef sandwiches, where the bread wicks up rich, savory juices. My own slow cooker version beloved by friends is shared in detail at Slow Cooker Italian Beef Sandwiches.
For a morning table, sliced homemade Italian bread spread with honey butter pairs beautifully with coffee or tea. In the mood for something sweet and seasonal? Toasted bread crumbs from leftover loaves make an unexpected crunch topping for baked bananas and cinnamon herbed nuts, akin to flavors in Cinnamon Swirl Banana Bread.
This bread also shines as the base for crostini topped with roasted vegetables or a drizzle of olive oil and sea salt. In Italian meal rhythms, it is both foundation and companion, absorbing and enhancing the flavors around it.
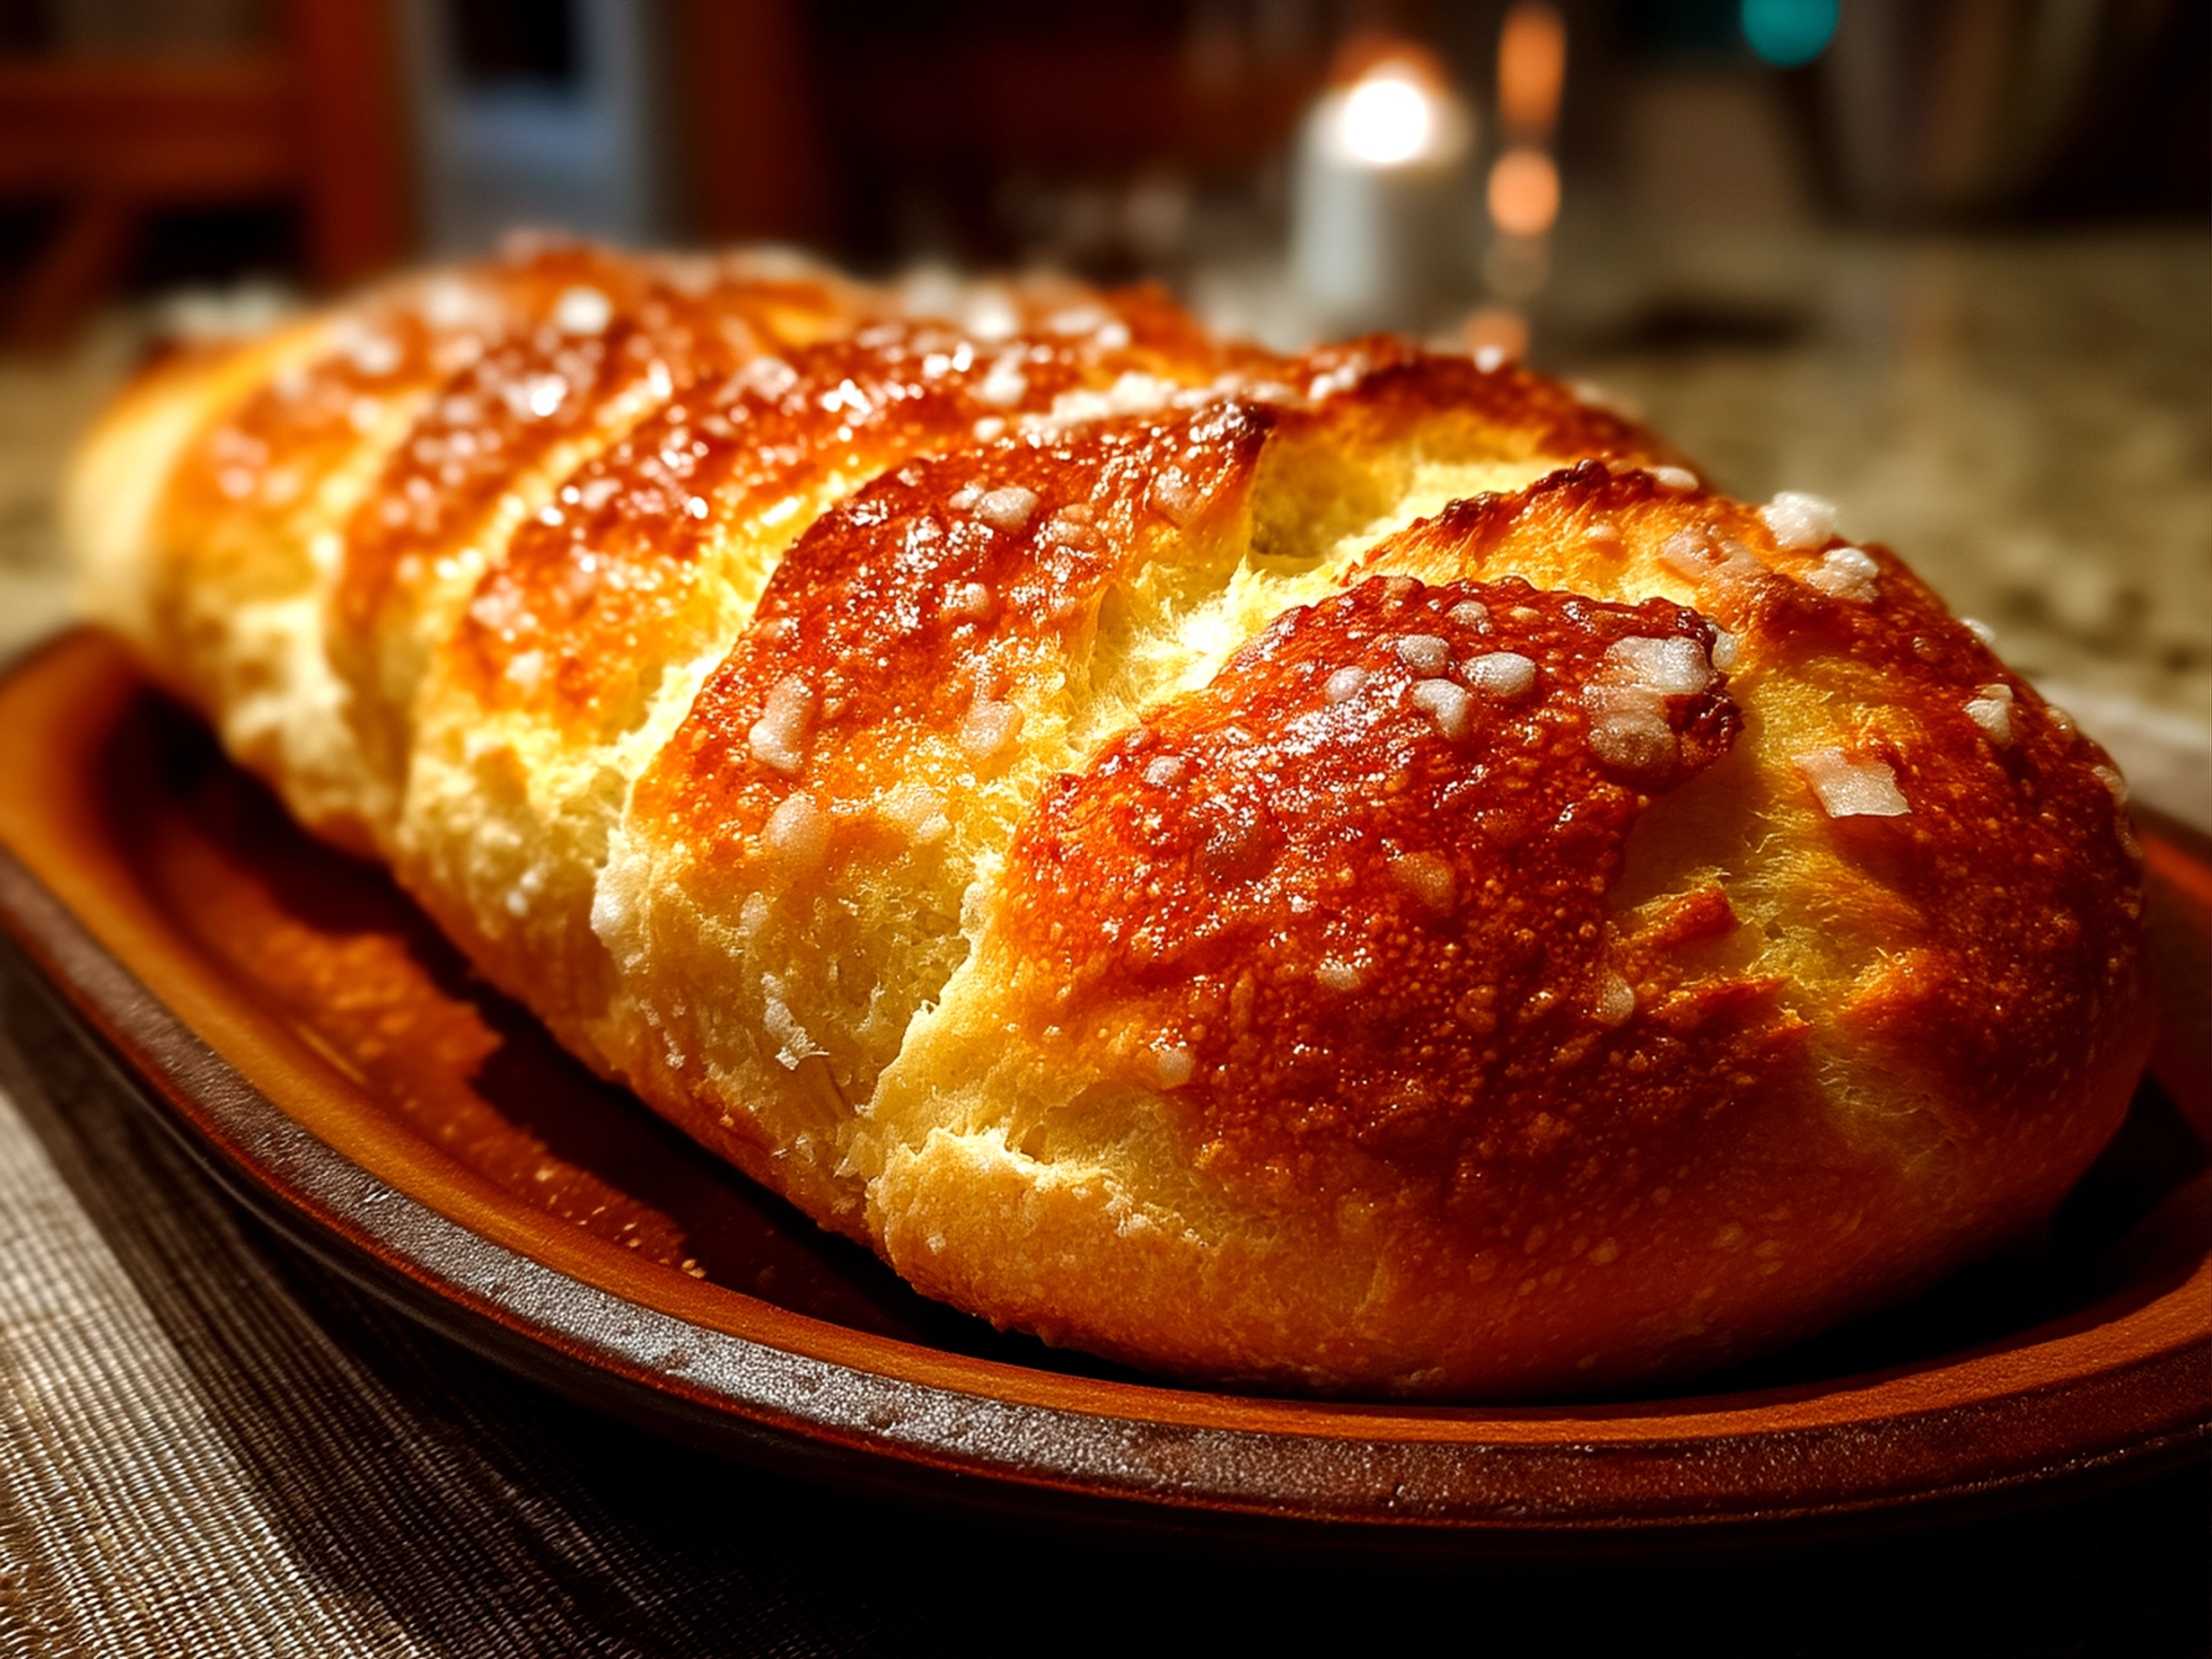
Presentation matters well here. A rustic basket lined with a linen napkin, a light dusting of flour across the crust, and fresh herbs on the side invite anticipation before each bite.
During family meals, this homemade Italian bread invites sharing and connection. I recall one dinner where its freshness led to conversations about local grain sources and the seasons best for baking. Finally, some of my regular guests especially rave about the tender crumb and crackly Italian style crust, a detail that always makes the bread unforgettable.
If you want additional inspiration, Cheddar Jalapeno Cornbread Muffins offer a different bread narrative worth comparing, especially on the flavor contrast front.
Common Questions
What makes this homemade Italian bread different from other bread?
This bread balances a chewy, moist interior with a distinctive Italian style crust. It’s a reminder that artisan bread baking is about technique — from kneading to proofing — more than fancy ingredients. The olive oil and salt form subtle flavor notes found in traditional Italian loaves.
Can I prepare homemade Italian bread in advance?
Yes, you can prepare the dough up to the first rise and refrigerate it overnight. This slow fermentation deepens flavor. Bring the dough to room temperature before shaping and continue the process as usual.
How do I know when homemade Italian bread is properly done?
Tap the bottom of the loaf; a hollow sound means it’s baked through. The crust should be golden-brown and crisp to touch. Internal temperature near 200°F (93°C) confirms doneness if you use a thermometer.
Can I use whole wheat flour instead of bread flour?
You can substitute part of the bread flour with whole wheat for a nuttier flavor, but too much can make the crumb dense. I usually try 25% whole wheat, balancing texture while honoring traditional textures.
What if my dough doesn’t rise well?
Check your yeast’s freshness and water temperature. Yeast needs warmth, moisture, and food (flour) to activate. Sometimes, rising spots that are too cold slow fermentation.
Are there bread baking techniques to improve my crust?
Yes, steam helps. Placing a shallow pan with hot water in the oven during the first 10 minutes of baking adds moisture, producing a crisp, crackly crust classic to Italian breads.
How should I store homemade Italian bread?
Store at room temperature in a linen bag or loosely wrapped in paper. Avoid plastic to preserve crust crispness. For longer storage, freeze the loaf, then reheat slices when needed.
These questions come often from readers seeking clarity about homemade Italian bread. Alongside these tips, you might check out Italian Bread Recipe – Amanda’s Cookin’ for another perspective and some practical bread baking techniques that complement this food narrative.
Closing Thoughts
Homemade Italian bread offers more than a loaf; it speaks of tradition, patience, and shared kitchen moments. What makes this bread worth your effort?
- The interplay of simple ingredients transforms with patient technique into a loaf with tender crumb and crisp Italian style crust.
- Each rise and fold connects you to generations of artisan bread baking, a quiet conversation between past and present.
- This bread’s adaptability across meals—from cozy breakfasts to festive dinners—embodies the soul of Italian food culture.
If you want to vary your approach, try an herbed version with rosemary and garlic, a light whole wheat blend, or a no-knead take echoing the ease found in The Easiest No Knead Bread Recipe. Each shift highlights a slightly different texture or flavor, tailoring the homemade Italian bread to your kitchen story.
Whether breaking bread for simple morning rituals or serving it alongside something like slow cooker Italian beef sandwiches, this loaf invites presence and reverence.
I encourage you to make this homemade Italian bread your own, stepping into its history and savoring the small, meaningful kitchen moments it offers. Your journey with it can be a lasting part of whatever food narrative you build — one slice at a time.
Homemade Italian Bread

Discover the authentic taste of Italy with this homemade Italian bread, boasting a crisp crust and soft, airy interior perfect for any meal.
- Prep Time: 15 minutes
- Cook Time: 35 minutes
- Total Time: 1 hour 45 minutes
- Yield: 1 loaf (8 servings)
- Category: Dinner
- Method: Baked
- Cuisine: Italian
Ingredients
- 4 cups all-purpose flour
- 1 ½ cups warm water (110°F)
- 2 ¼ tsp active dry yeast (1 packet)
- 2 tbsp olive oil
- 2 tsp sugar
- 2 tsp salt
Instructions
- In a small bowl, dissolve the yeast and sugar in warm water; let it sit for 5-10 minutes until foamy.
- In a large bowl, combine flour and salt.
- Make a well in the center and add the yeast mixture and olive oil.
- Mix until a dough forms, then knead on a floured surface for about 8-10 minutes until smooth and elastic.
- Place the dough in a greased bowl, cover with a damp cloth, and let rise in a warm place for about 1 to 1½ hours until doubled in size.
- Punch down the dough, shape it into a loaf, and place it on a baking sheet lined with parchment paper.
- Cover and let rise for another 30 minutes.
- Preheat oven to 375°F (190°C). Slash the top of the loaf with a sharp knife.
- Bake for 30-35 minutes or until the crust is golden and the loaf sounds hollow when tapped.
- Cool on a wire rack before slicing.
Notes
For an extra flavorful crust, brush the loaf with olive oil before baking and sprinkle with rosemary or sea salt.